To add a new file to a project
1. In the Project Explorer, select the project or a project folder.
2. On the File menu, select New, File... or
right-click in the Project Explorer and select Add New File...
3. In the New File dialog box, select a Category in the left pane.
4. Select a file type in the right pane.
This will open the tool required to create the new file.
5. Edit the contents of the file (optional).
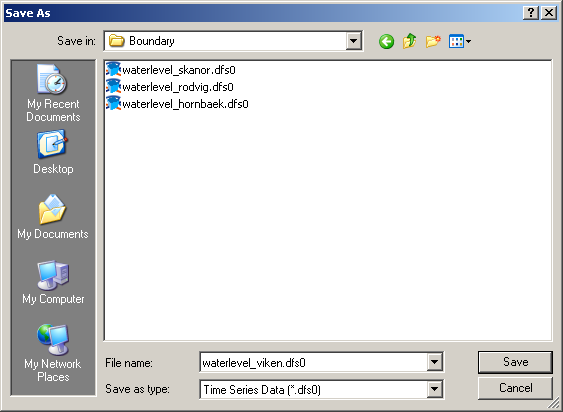
6. Press ‘Save’ to save the file.
Figure 7.5 Saving new file
7. In the Save dialog box, enter Name and location for the new file.
8. Press ‘OK’ to accept input and save the file.
Once the file is saved on the hard disk the project will be updated and the Project View will show the new file in the chosen folder.
![]()